Sunday, March 17, 2024

A few more completed


My goal is to complete I watercolour per week - but over the last couple of weeks I have managed to do two each week. Either the subject matter was simple or maybe I'm getting better. 

Above you can see a completed water colour of an uninhabited stone cottage at Talmine Beach Scotland. Below are the original photos of a couple of the subjects with backgrounds removed.


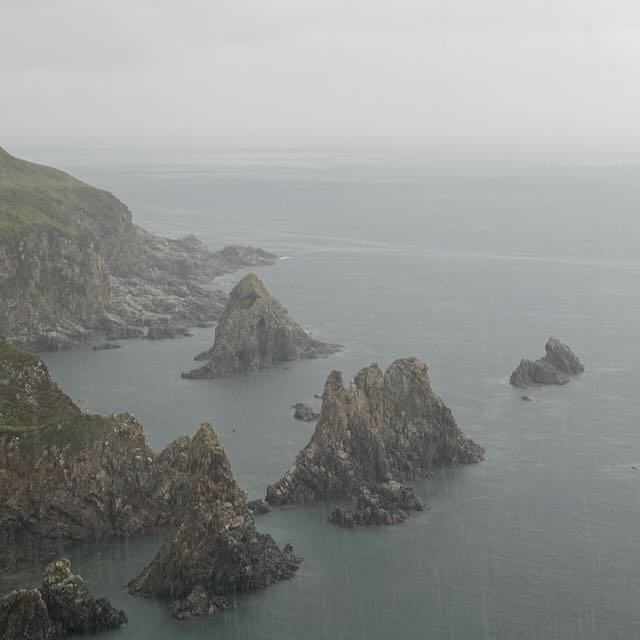
Following are the other three completed water colours. The Old Armadale Bus Stop was photographed on a very misty day so I put a wash of grey over the watercolour to create a misty look.


And then the four images of the watercolours with background removed so they can be printed onto cards. Removing the watercolour background takes away the paper colour and texture allowing for a clearer image to be printed.  However, at times it also takes away some of the detail such as the tree behind the old barn


Not all the watercolours will become cards - for now I'm picking and choosing. Big thanks to Fiona for printing the cards. I'm happy where I'm going with this new medium.

Friday, March 15, 2024

Carving vase forms


A few weeks ago Fiona and I did a timber vase carving workshop. Since then we have been collecting some odds and ends of timber that we can carve.

Today I did a test run and carved a couple of stone shaped vases - one out of camphor laurel offcuts (see opening photo); one out of the salvaged liquid amber timber - see below.

Photo of the  vases holding a bit of foliage are below. The larger vase is 7cm in diameter; and the smaller one is 4.5cm in diameter.

Following are a few photos of the some of the timber I have prepared for Fiona and I to do a vase carving play day in the near future.


Below are a few process-progress images from today.


I must say I had a lot of fun carving these wee forms today.

Wednesday, March 13, 2024

Rust, orchids and other fragments


I was fortunate to just get the focus and light right for the photo of the leaf that got caught in the rusted metal flowers - above and below. Not long after I took the photo the leaf was blown off the flower.

It is a while since I shared photos of a few of G's orchids - I particularly like the chains of tiny orchids that cascade from one of the hanging pots.


The mornings are definitely staying dark later bas you can see below.

A few more fragments - bees on a magnolia blossom and fallen petals.


I planted an avocado tree yesterday - a symbol of hope given it will take 5-7 years to fruit?

The are still fragments of beauty to discover.


Sunday, March 10, 2024

Prints and printing


Fiona has been experimenting with how we might turn some of my wee Scotland inspired watercolours into cards. As you can see from the photos above and below I think she has nailed it.


I will probably take some of these back to Scotland so we can sell them at one or two of the art-craft markets if we can book a spot.

Local people have been collecting brown paper cutlery sleeves for us. They are aware that we use them to print our peace weather grams later in the year. However, because we have quite a stash I have decided to print 50 "but first kindness' weather grams so that they can go out into the world and spread the message. A few photos of the printing process from today follow.


In this rainy weather, and because the paper is not very absorbent, the printing will take a week or more to fully dry. So they will rest in the studio for a while before being packaged up and sent on their way. 

Friday, March 8, 2024

Niches and more niches


I have finished sawing, chiselling and rasping some 50 niches into the three 200mm square posts (above) that I cut  a week or so ago (below). Each of the posts are unique in height and the location of niches. The goal is get different views of the combination of the three posts. The sculpture is not three sculptures; but rather one sculpture created by the three posts.


The sawing, chiselling and rasping created a lot of chips and wood dust. Niches have been cut into every corner of each of the posts.

A few more photos of the posts from a few directions follow.


I will sand the posts across the grain with a very very coarse sand paper to add a texture; but also remove splinters, glue where I have repaired a post, dirt and marking lines. 

The next step after the sanding is to add rusty bits to the posts - both in the niches and on the surface. I won't be putting rust into every niche - some niches will just be beautiful negative spaces or resting ledges for insects and lizards etc.