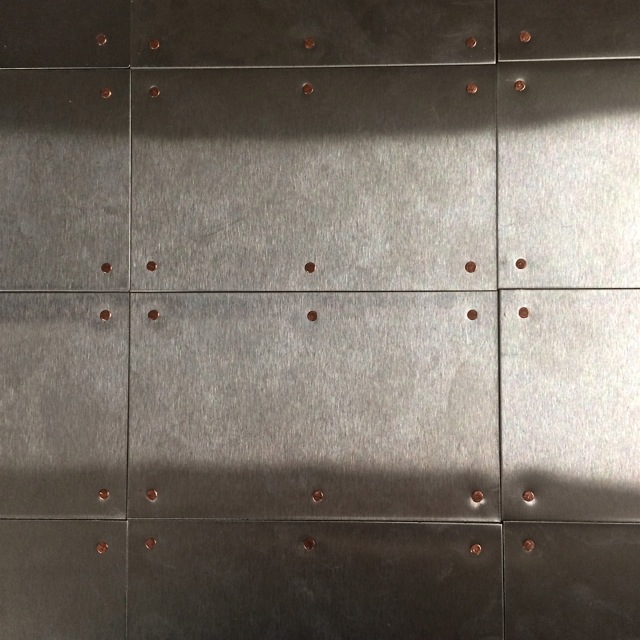
Sunday, August 30, 2015

A flock of patinated birds

The weekend was made up of many activities including planting our spring veggie garden; applying fertiliser to roses and other trees; attending a farewell for one of our local artists; and drilling and bolting some of Fiona's works for her upcoming exhibition.  And we had 25 mm of rain to settle all the new plants in.

This afternoon I got a bit of time to finish a couple more Steampunk influenced pendants (photos later) and I started on my flock of peace birds for  International Peace Day on 21 September.

©2015 Barry Smith - A small bird of peace
I intend to make 21 patinated copper birds that will be stamped with the word peace - they will be hang in the tree at the front of our house with Fiona's peace weathergrams. Today I managed to cut out the first handful.

©2015 Barry Smith - A handful of small peace birds
I love the  the combination of natural patina, raw copper edges and the rust - making these 7 was a joy.

©2015 Barry Smith - A small family of peace birds on rust
©2-15 Barry Smith - Peace birds and rust
©2015 Barry Smith - Patinated copper and rust
The photos of two more Steampunkish pendants. I cut two lugs off one.

©2015 Barry Smith - Watch pendant
And all the lugs off the other.

©2015 Barry Smith - Watch pendant
I found that I could republish the very cloudy glass of the watch faces with my jewellery polish - works well. A good end to a good weekend

Friday, August 28, 2015

I know I promised but ….

Some time ago I said that I had done enough resin work but … The but is - I need to continue to build stock for the upcoming jewellery expo; and it is a useful small simple creative thing to do when one is doing other tedious process tasks on commissions.

©2015 Barry Smith - Bowl sections of tiny ornate silver-plated teaspoons with a stash of silver-plated metal punchings - good clear pour - will become pendants.
I wanted to focus on small pieces  (15-20mm square or in diameter or less) because I have been told these have appeal and will work better as earrings. So start by cutting up and punching heaps of fragments of offcuts of silver-plated EPNS and copper; punching holes for jump rings; and doming each piece to hold the resin.


After grinding and polishing I set the lines of pieces to be resined out in lines - held with blue tack; and add the bits to go under the resin - in this case the small silver-plated punchings from making holes in other bits of jewellery. And of course having a few other bits on the side in case one mixes too much resin - as I did. And then pour and let set for 24 hours.

©2015 Barry Smith - 
Some of the pieces below that have not been made into earrings.

©2015 Barry Smith - A square of 20mm square pieces
©2015 Barry Smith - A rectangle of 15mm squares
©2015 Barry Smith - A cluster of circles - smallest are 11mm in diameter 
Some of the earrings including a couple of random brass pairs.

©2015 Barry Smith - Brass drops about 15mm long and 1.5mm deep (photo bit out of focus)
©2015 Barry Smith - A pair of square pairs
©2015 Barry Smith - Backs of circles
And one of four watch glass Steampunk influenced pendants I quickly poured. Frame of watch face - modified after pouring. Watch faces are about 25-30mm in diameter.
©2015 Barry Smith - Layers of gears and metal punchings
©2015 Barry Smith - Layers of gears and metal punchings - see thru - the resin was thickening when poured on these - hence tiny bubbles
I think I now have definitely made enough - just need to assemble them now. Off to Friday dinner with neighbours.

Wednesday, August 26, 2015

Early birds and blossoms….

I believe spring officially starts on the 1 September - guess nobody told the birds and blossoms about that. Over the last week the outriders of the blossom world have begun to show their colour.

The post today will in the main just show a little of that colour I captured on the morning walk on Monday and today. Some with tiny droplets of dew (one has to look closely) - love that in the early morning; and some not yet quite unfurled.


And of course the birds - native Mynah bird annoying a Kookaburra - against grey morning sky


A little fungi forest …

©2015 Barry Smith - Delicate fungi forest
©2015 Barry Smith - Delicate fungi detail
An unusual cloud formation to start the day


There is no doubt such beauty is a grand way to start the day.

Sunday, August 23, 2015

Simple beauty of feathers

Over the weekend all the garage-studio time went into finishing the covers for the 16 metal, paper and perspex books. Lots of grinding and polishing in readiness for taking the riveted metal plates tomorrow morning to be etched

On Saturday Fiona and I were invited for lunch with Liz and Pav who have 4 Guinea fowls. The heads of these birds are quite ugly as you can see from the last photo of this post; but the feather patterns are works of art. I thought I'd share a couple of shots of patterns from various parts of one of the birds. Some lovely folds in the feathers


And that ugly head - only another guinea fowl could like that.


Though there is not a lot to share art wise it was a creative and productive weekend.

Friday, August 21, 2015

A riveting time

©2015 Barry Smith - Fragments of pure copper nails - after cutting down for riveting - will go into the smelting container.
Over the last 5 days I have been working on metal covers for books. Rivets are a design feature of the covers. In all I have made 16 sets of covers which entailed hand setting 410 copper rivets.

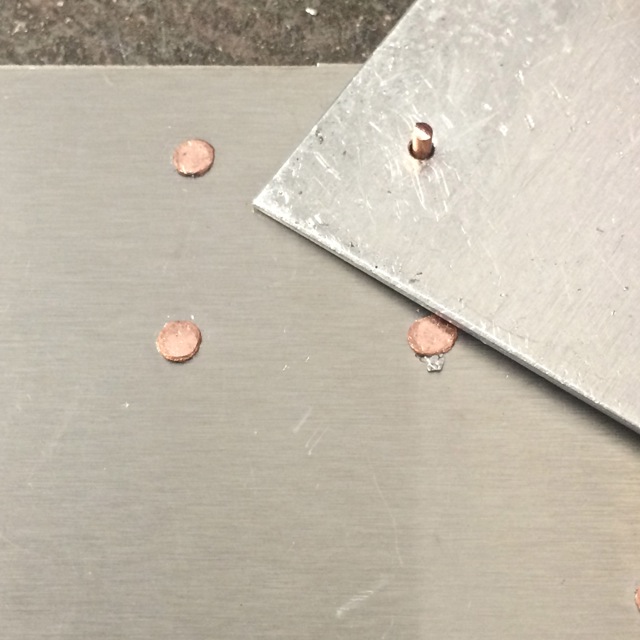
My copper rivets start life as small (1.5mm in diameter and about 20mm long) pure copper nails I purchased in Japan. As part of the riveting process these nails are: set, cut to size, domed and hammered flush with the surface.

Following are some photos of the process and the final products in the rough.

The tools

©2015 Barry Smith - Tools - left to right - riveting hammer, centre punch, depth gauge, flush cutters, home made setting tool, homemade doming tool, copper hammer (for use on punch, string and doming tools) and anvil. 
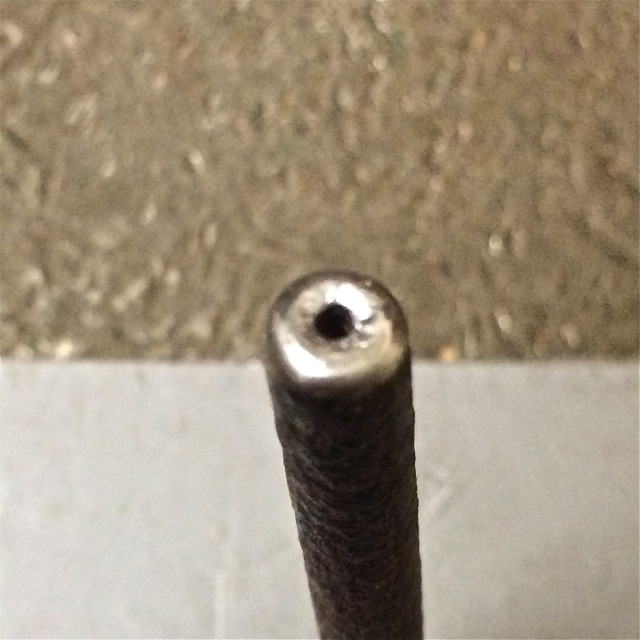
©2015 Barry Smith - Face of doming tool after 410 rivets
©2015 Barry Smith - Face of setting tool after 410 rivets
Setting the rivets

©2015 Barry Smith - Setting tool in action - formerly a bolt.
Cutting rivets to size

©2015 Barry Smith - 1mm thick aluminium used to measure rivet - cut off with flush cutters.
Doming the rivets

©2015 Barry Smith - Doming tool in action
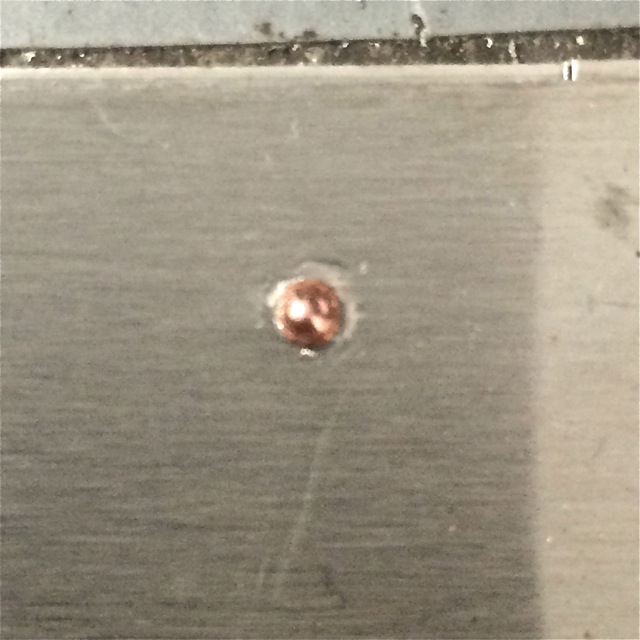
©2015 Barry Smith - Domed rivet
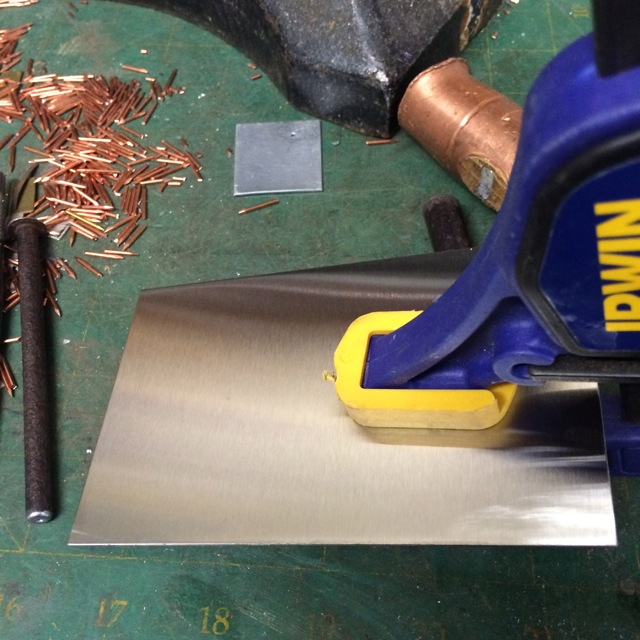
A trick I learnt - holding the pieces of metal together with double sided tape; and using the clamp to make sure of a really good connection. Then there is no need for clamps etc when centre punching, drill ing and riveting.

©2015 Barry Smith - Double sided tape
©2015 Barry Smith - Clamp to ensure connection with tape.
Casualties - I used about 25 1.5mm metal bits in drilling the holes for the rivets. The stainless steel was very hard and either busted the bits  (after as little as 3 holes) or wore them out (maximum out of a bit was 24 holes). I used a drill press for the job to keep the revs down and the pressure gentle and even.
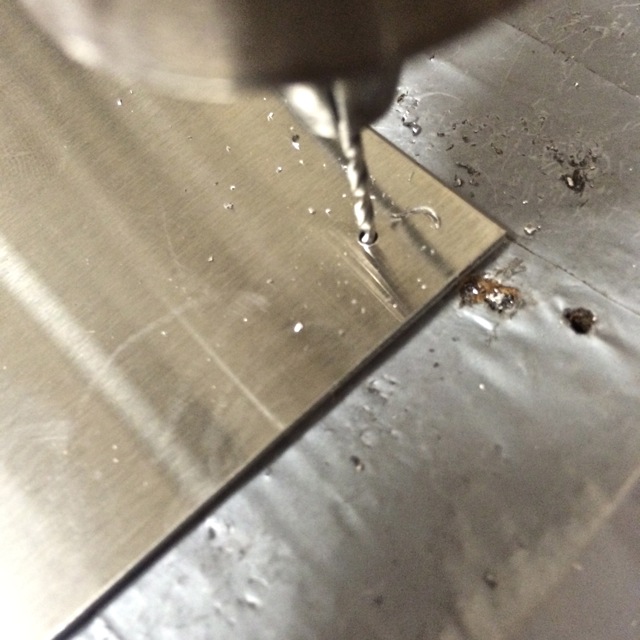
©2015 Barry Smith - Drill press
©2015 Barry Smith - Some of the busted and worn out drill bits
Riveted front and back pages ready for grinding, polishing and then etching.
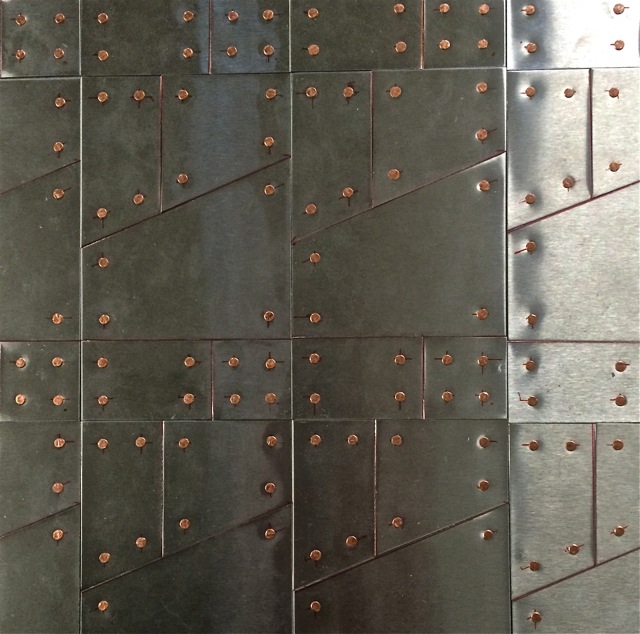
©2015 Barry Smith - Riveted stainless steel 
©2015 Barry Smith - Riveted stainless steel
I achieved my goal of getting the riveting done by FRiday. Now that deserves a glass of red.