Showing posts with label Watercolour. Show all posts

Friday, November 7, 2025

Light duties and watercolours


I have a bit of an infection in my good eye so Im being cautious not to expose it to dusty areas.  Im continuing with my watercolours including starting another door and window as you can see from the photo above and below,

A few process images follow - sketching out the outline and starting to lay down washes of colour.


There is still quite a bit to be done on these two watercolours but I have made a solid start.

I have finished numbers 7 & 8 in my bird series; and as you can see in the photos below there have had my stamp put on them. I like both these watercolours - both birds have a cheeky look.


With a bit of planning over the weekend I hope to do a bit of metal work. I aim to finish off the last few bowls using the patinated copper from the old laundry copper boiler I was given

Friday, October 31, 2025

Two more bird watercolours


These two postcard sized bird watercolours are the last two in the series of 8 I'm doing as an art and sale project with a business owner. 

The blog is quite brief as most of my art time today has been taken working on a draft  quote for a repair and conservation project I have been asked to consider and quote on.

The opening watercolour is of an Eastern Whipbird - some subtle colours. The watercolour below is of a Grey Butcherbird.

Following are a couple of process-progress photos.


There is still some detail and shadow work to be done on these two watercolours; but they are getting close to being finished.

Though doing quotes can be time consuming they are part of an art life; and it is quite compliment to be asked to do some projects - a recognition of skills and professionalism one hopes.

Friday, October 17, 2025

Birds - postcard sized watercolours


I'm currently working on a series of 8 bird watercolours that hopefully will be sold by a fellow artist who runs an accommodation business up our way. I have finished 4 this week as you can see from the hastily taken photos above and below.


A few of the process-progress photos follow.


I have a couple more bird watercolours to go before framing and delivery; but that will have to wait for a couple of weeks.

Sunday, August 10, 2025

Shine, cut, test and melt


As the title suggests over the last couple of days I have been doing chores that either follow on from making (shining metal); or in preparation for making (cutting paper, testing colours and cutting, melting and forming metal).

The opening photo and those below show some of the outcomes and processes of shining Daily Word sets.


I have finished cutting the paper offcuts separated out as part of our recent paper inventory and sale. The pieces have been cut into sizes for mini posters and business card size inspiration cards.

Instead of just looking into the various paint boxes I am using I finally got around to doing colour tests on a couple of postcard size pieces of watercolour paper.

Today I cut up some salvaged discarded pewter objects and poured some stars and hearts. The stars will be gifted as is; and the hearts will be stamped with words and then gifted.


It often fascinates me that as artists we progress small things on many fronts to finish and facilitate the actual making.

Saturday, April 5, 2025

First bit of creativity this trip


We set aside yesterday morning to spend a bit of creative time. Hopefully Thursday morning will continue to be watercolour time for me. 

As you can see from the photo above I progressed the painting of the stone; and I started one of a rusted bit of wall and a triangular fixing. Good to have at least two paintings on the go to let things dry.

A photo of the workspace on the kitchen table follows.

A couple more images of the progress made. These works are 8-9cm square. I think the finished works will look good with a black matt.


The blog post is quite brief; but it was good to make the commitment to do the work and get the tools out of storage.

Sunday, March 16, 2025

I think I found my ink painting approach


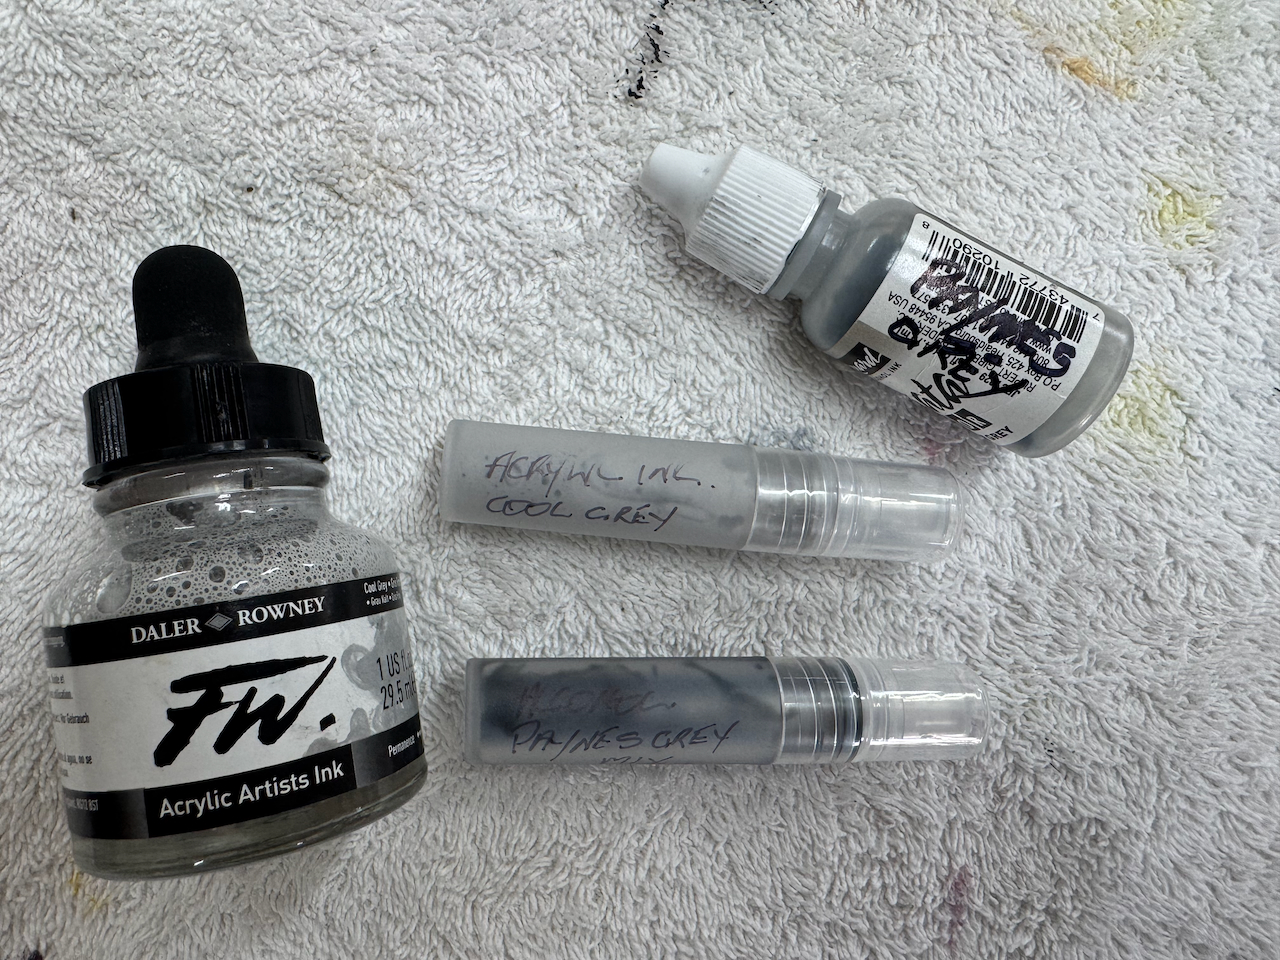
On Thursday I continued my ink painting experimentation with Megan. I wanted to test using micro spray bottles to apply the top coat to test works.

 See the starting test sketches below. The two on the left are on watercolour paper and the one on the right is on Yupo paper.


After applying both alcohol and acrylic ink to pencil sketches, including four sketches of dandelion seed heads, I have come to the conclusion that micro spraying my blue alcohol ink mix (shadow grey and sapphire blue) and standard shadow grey alcohol ink over pencil sketches on Yupo paper is the way to go for me.  In the opening photo the top left image shows what happens when you apply two coats of alcohol ink; and the top right shows the result of cool grey acrylic ink.

The opening photo shows the comparison of the outcome of different ink and spray techniques. The photo below shows the micro spray bottles Megan sourced - they hold about 3-5ml of ink and give a fine fairly even spray.


The following photo shows the result of spraying both alcohol ink and acrylic ink over graphite watercolour pencil sketches on water colour paper. 

The acrylic ink on the flower seed heads (right) demonstrates that the acrylic ink is too opaque. The alcohol ink sprayed on the stone sketch resulted in a very flat image.

Some other process-progress photos follow. I did two more sketches of seed heads on white and translucent Yupo and then sprayed with my blue shadow mix. The white Yupo paper gave a clearer result; whereas the translucent paper (left)  resulted in some spotting texture - both good outcomes.


Some reflections-conclusions include:

Yupo paper is best - both translucent and white work. Always clean the yupo paper with clear alcohol before doing base sketches and don't get fingers on the paper after cleaning. One coat of alcohol ink works best. If you apply two coats the second coat simply reactivates the base coat and the ink runs and form holes or patches - but if that is what you want go for two coats. Standard graphite pencils are best for doing the base sketch - although a black sharpie is good for foreground work. Alcohol ink top coat results in a work that has a sheen, depth, texture and a bit of mystery.

I think the approach I will choose (yupo paper, pencil sketch and one coat of alcohol ink) is good for me as I want to create moody pieces with life and a sheen.


Friday, March 7, 2025

What a lot of creative fun


I spent a session on Thursday experimenting with alcohol ink and small spray bottles. Megan allowed me to spread out and test a few techniques and colour mixing. The outcomes are quite interesting I think - above and below. Some of the images look like you are seeing the landscape (boulders) on a darkish night through the rain; whilst others suggest one is looking at the landscape out a window on a raining day.


I was also testing combinations of white Yupo  and translucent Yupo papers;  and Sharpie pen, pencil and graphite watercolour pencils to draw the base images.


Following in random order are some photos taken by Megan as I sprayed images including double spray of the stones which resulted in the very dark night image. I also used two alcohol inks - shadow grey and our version of paynes grey created by mixing shadow grey and sapphire.


Many lessons were learnt including using a micro spray bottle with a very fine mist. I'm also going to test the spray technique on works on water colour paper - watch this space!!!!